
Happy Thursday!! Today I thought it would be fun to talk about these sweet Photo Cubes that are so fun to make!! I found the idea right before Father's Day and decided to give it a try to give to Pierce for his desk at work. He had mentioned wanting a few pictures of us and Jane, but he is so creative and loves things that are unique, so I thought these would be perfect!

I’ll share some pictures, and then I'll share how I did it incase you're interested! I made two - one of pictures of us and one of some favorites of Jane. I definitely think if I did a few more, I would get a little better, but I wanted to share incase anyone else is looking for a sweet homemade (or via Etsy!) gift for someone soon. I'll share all the links and resources I used incase you try it one day!!

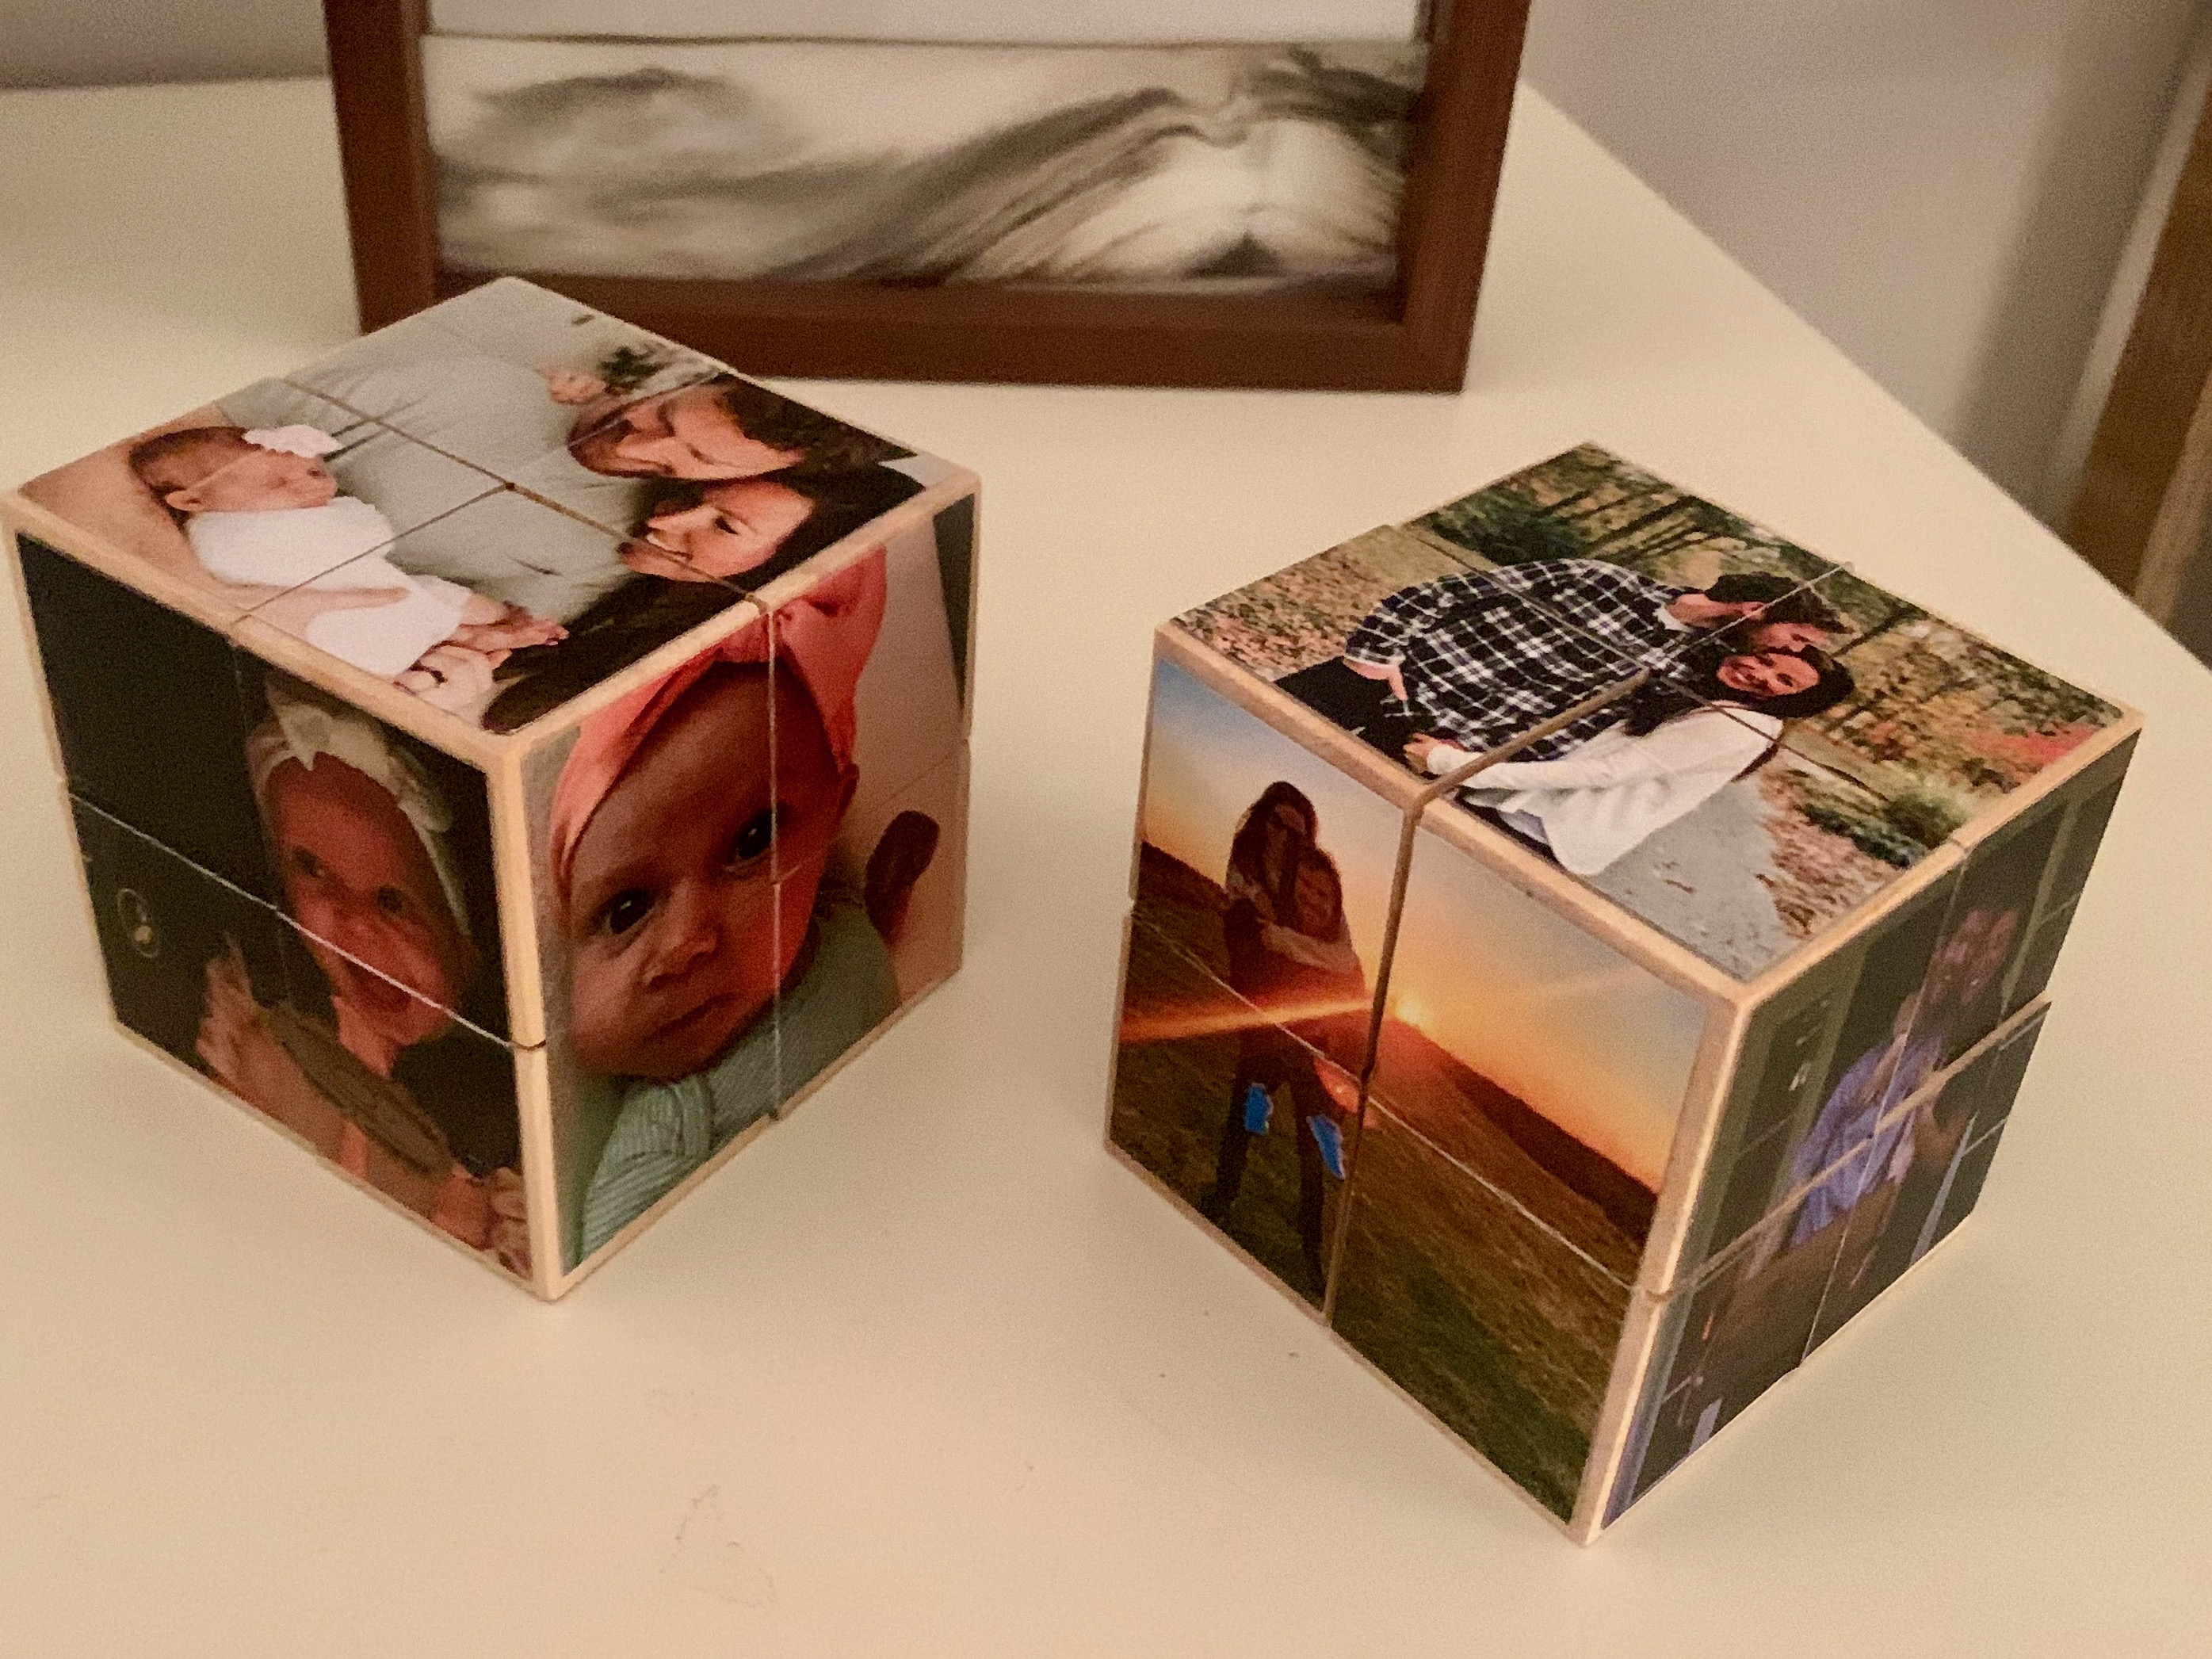
This is both of them opened up all the way...


These are the sides - so perfect for little pictures...


And then these are some in the middle and on the sides...


So fun, right?!
Ok, so if you're thinking about trying it, it's honestly pretty simple.
1. You just need to pick about 10 pictures that you want to use. I cropped mine on the computer into a square, but you can also just cut them when you print them too.
2. Print them on a regular printer using computer paper (photo paper is a bit too thick for this project).
3. Then order or grab these two main things to use - cubes and photo adhesive paper.


4. From there, I used this website to help guide me. She does such a great job at walking you through the steps! I followed her almost exactly except cut the pictures a little smaller so the wood would show and I used two skinny pictures for the sides of her photo #3... (And for her photo #7…If you do that too, stick them on at the end so they're facing the right way☺️) She shows you the order to put them on and makes it really easy to follow.


5. After you put the adhesive on the pictures and stick them in the right order on the cubes, that's pretty much it!!
It will turn into this :)

A fun little project for sure!!
Also, if you'd rather just have someone else make them for you, this Etsy shop does such a great job!!
Also, if you'd rather just have someone else make them for you, this Etsy shop does such a great job!!
I hope that's a fun little gift idea for you that you can stash away for a birthday coming up or Christmas at some point!! Thanks for following along on a fun little DIY post today.
(PS - For the Father's Day card at the top, if you have a little one and need a little hand or foot print, this ink pad is so great because it's more of a stamp that doesn't get the ink of their hands or feet. ☺️ It's what I used in Pierce's card - it's bit messy because it was my first try, but I thought it was a little sweet so I left it a little "imperfect.") :)
Well that’s all for today! I'll see you back here tomorrow!!
❤️Tab
So creative! I can't believe you made these. I'm sure your hubby absolutely loves them!
ReplyDeleteThanks Jennifer!! It's so fun to see them on his desk when I go to visit! ☺️
DeleteThese turned out so cute!!
ReplyDeleteThanks Alisha!! It's such a fun little project!!!
Delete