
Happy Thursday!! We are loving this week over here and are soaking in the cozy weather while putting our house back in order getting ready for family in town...

Today I thought it would be fun to share the Hobby Horses, or Stick Horses, that I've made the last several years for our school. I know many have sewing machines and whether for a costume or a gift or just for fun, these are so fun and so simple to make. And honestly, even if you don't have a sewing machine, you can use sticky tape or even hot glue and come out with the same little horse!! They are so cute and fun and always a hit with the kids!!

That first year I made them, I took a trip to Hobby Lobby and just picked out some fun fabric that I thought the kids would like and that would be fun to have a little horse for their "Hoedown." I also grabbed a few different types of ribbon to go with it. Obviously, if you were making just one, you could just pick out one fabric and one ribbon... Here's the list of what you'll need, of course being able to switch out what you have and make it what you need!!
Fabric (about a half a yard)
Ribbon (just a 8-10 cut pieces)
Wooden Dowel (usually Walmart has them for 99¢)
Stuffing (I used quilting batting, but anything would work)
Hot Glue Gun (for putting on the eyes and gluing it to the stick)
Googly Eyes (I tend to think the bigger are a little better for the horses)
Scissors
Sewing Machine (Or double sided sticky tape or a hot glue gun)

I start by cutting out the shape above...I wish there was an easy way for me to get you this pattern, but honestly, you could probably free hand it... It looks more like a centurion at this point... but I try to always keep the left nose part on the fabric fold and then cut a C shape down and a bigger C shape on the right (a lot of that gets cut for the mane.)

The good thing about these are they are SO forgiving... They are just fun and kind of quick, but the kids feel like they are made from gold... So don't stress - none of them are ever perfect!!
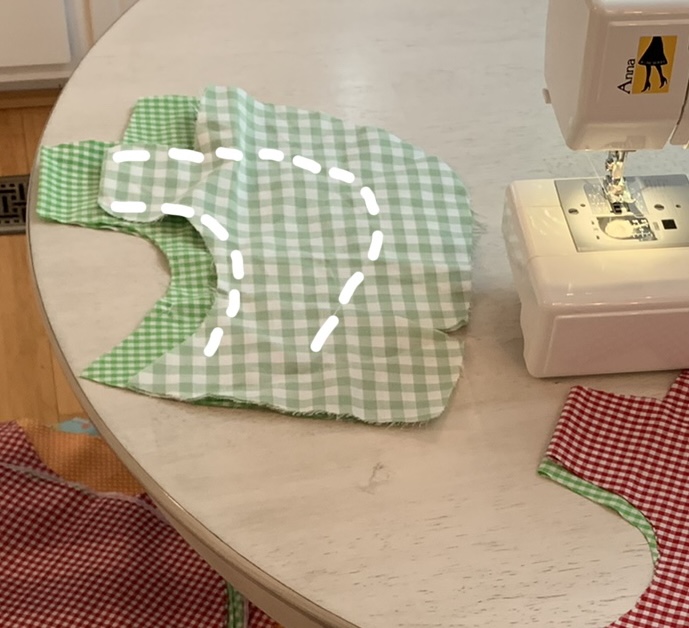
Once you have them cut, you take your sewing machine and sew about where these lines are... I usually make a little pencil mark so I have something to follow on my machine... But this is also where you could just use hot glue or double sided sticky tape as well...

Then, once that's sewn, you cut the remaining "C" Shape into strips for the mane...

My scraps that first year made for a fun picture and lots of goodies to use for other little projects!

That first year, I went ahead and cut and tied the manes with ribbon in-between every few... Every year after that though, I always let the kids help with this part though... It was so good for their little fingers and they loved picking out the colors too for their horse...
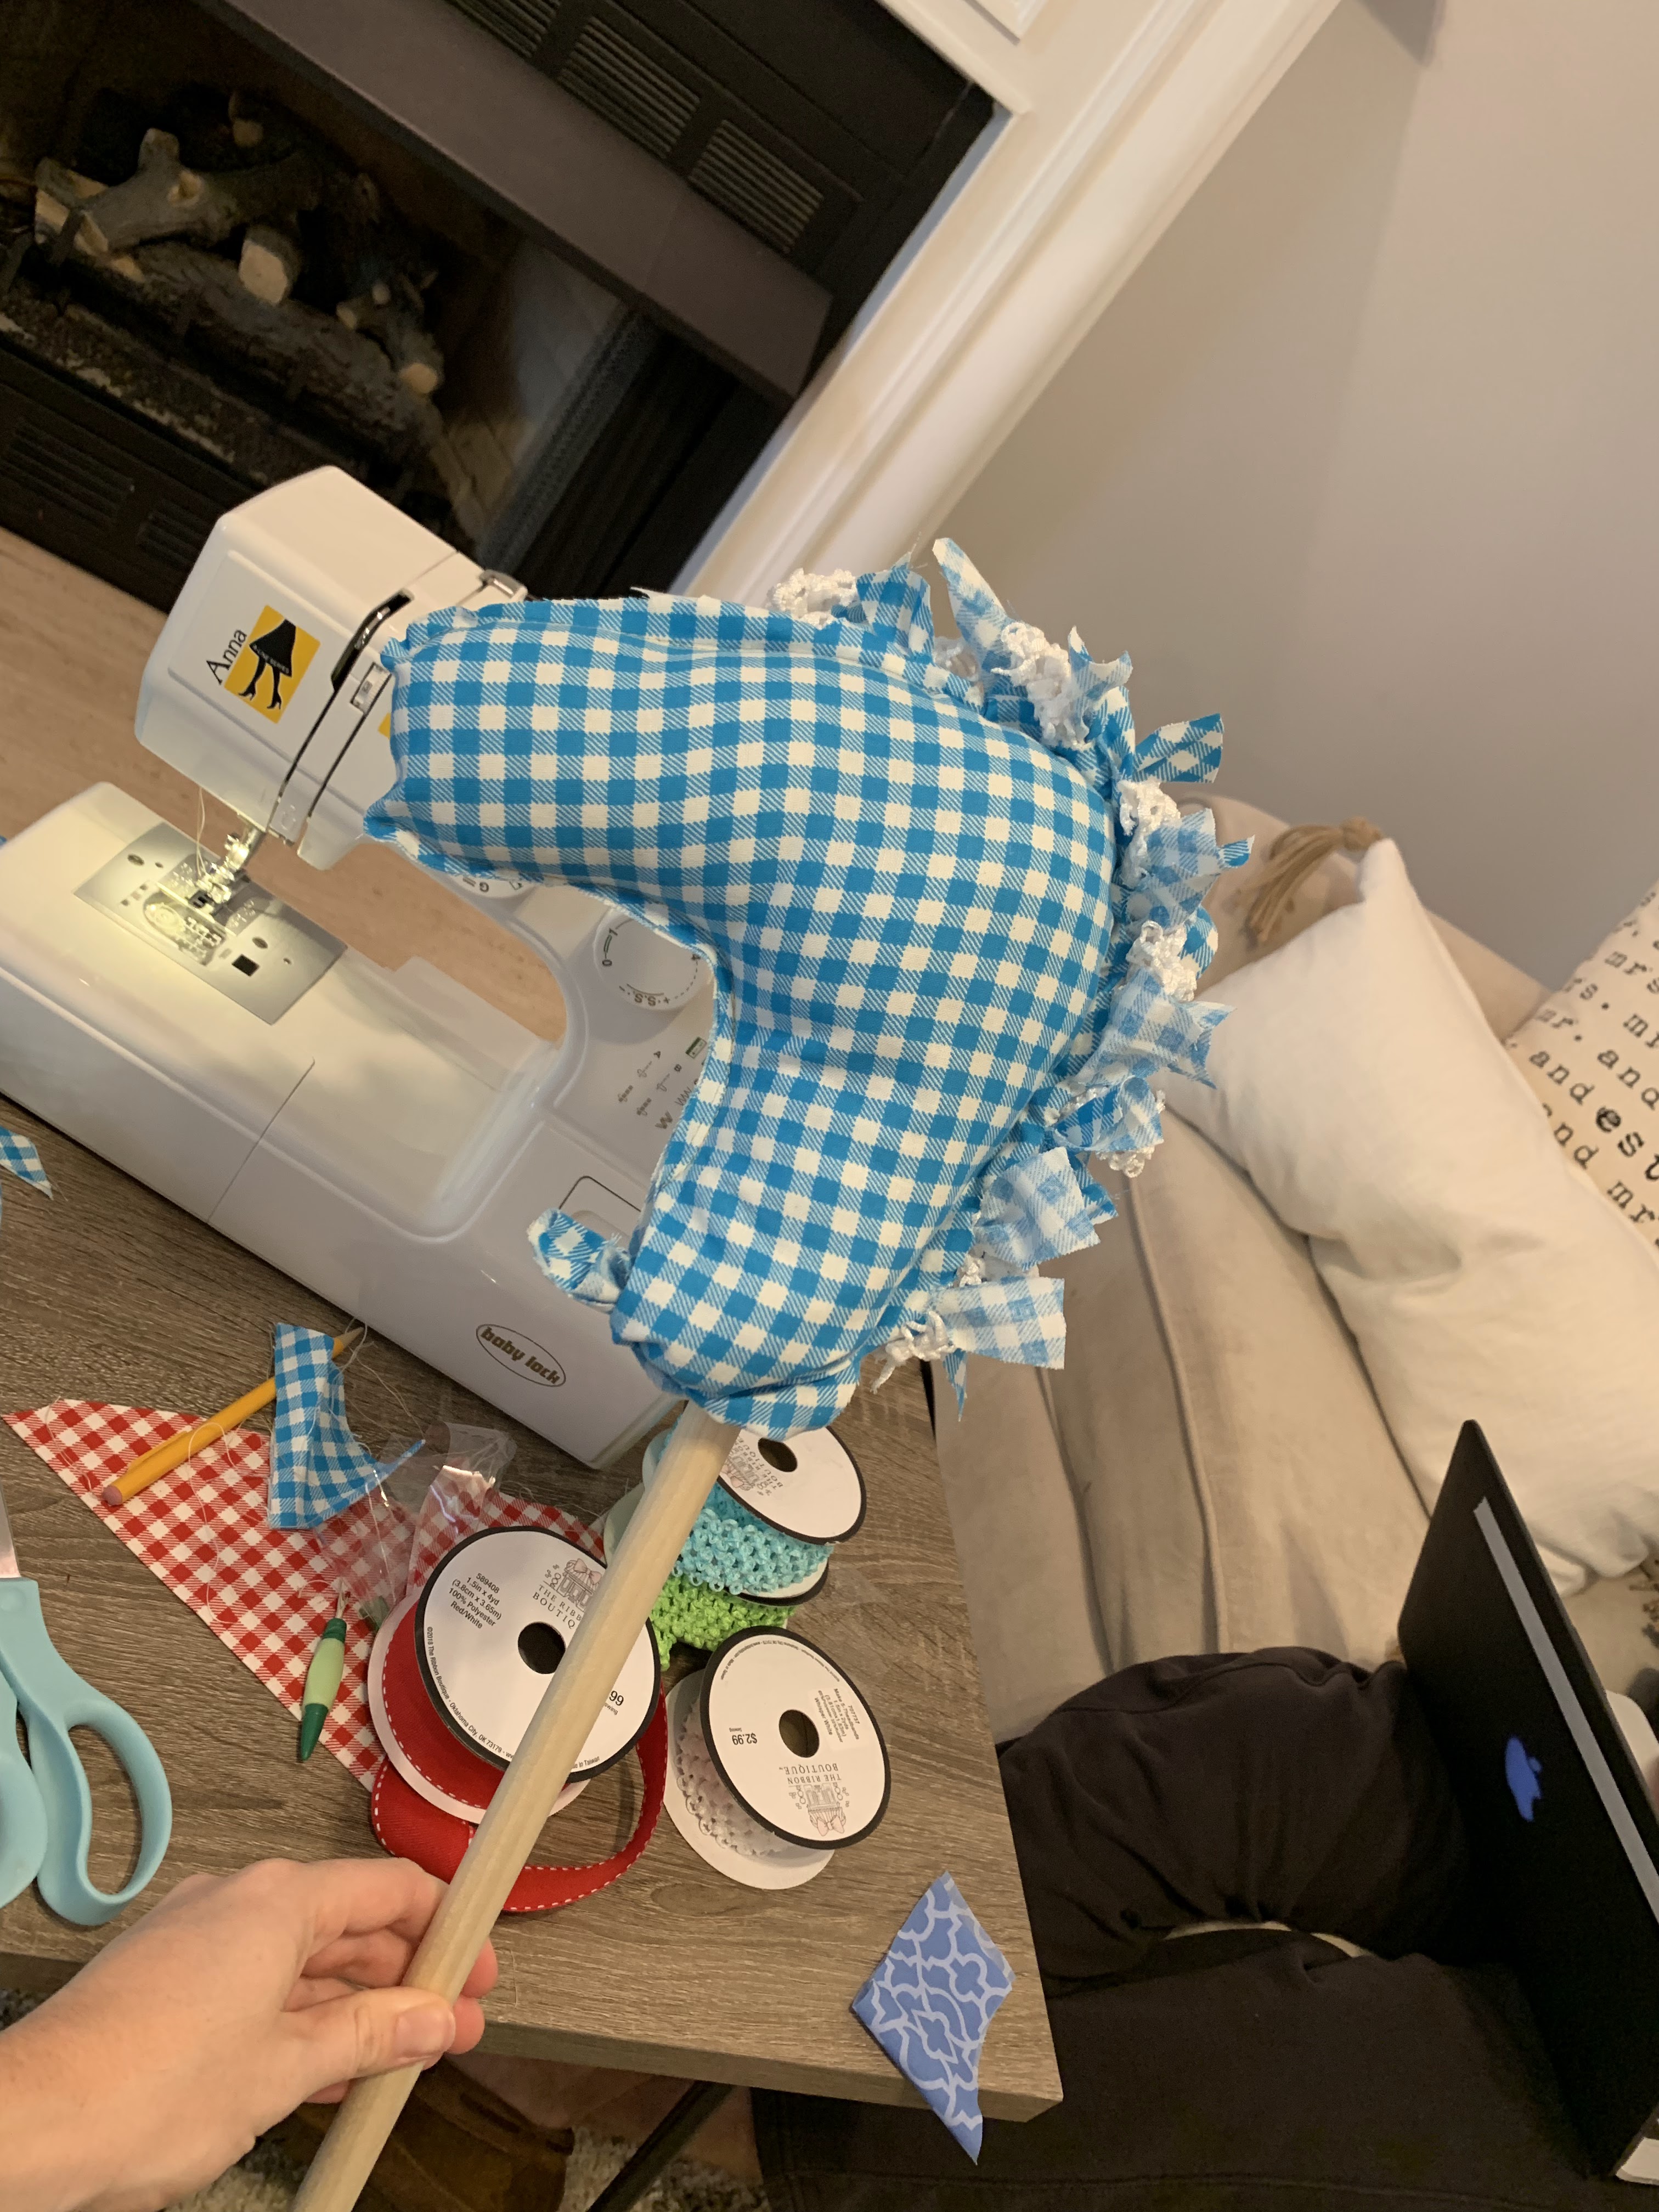
As I was testing them out that first year, I tweaked a thing here or there, but as you can see, this is the general look after you stuff it and put it on the stick...

I had a great tester that year before I took them to school... 😂😂😂


They'd read to them, take them to nap time, show them their centers everyday, and begged to take them home, but they would always stay until our "Hoedown" a few days/weeks later...
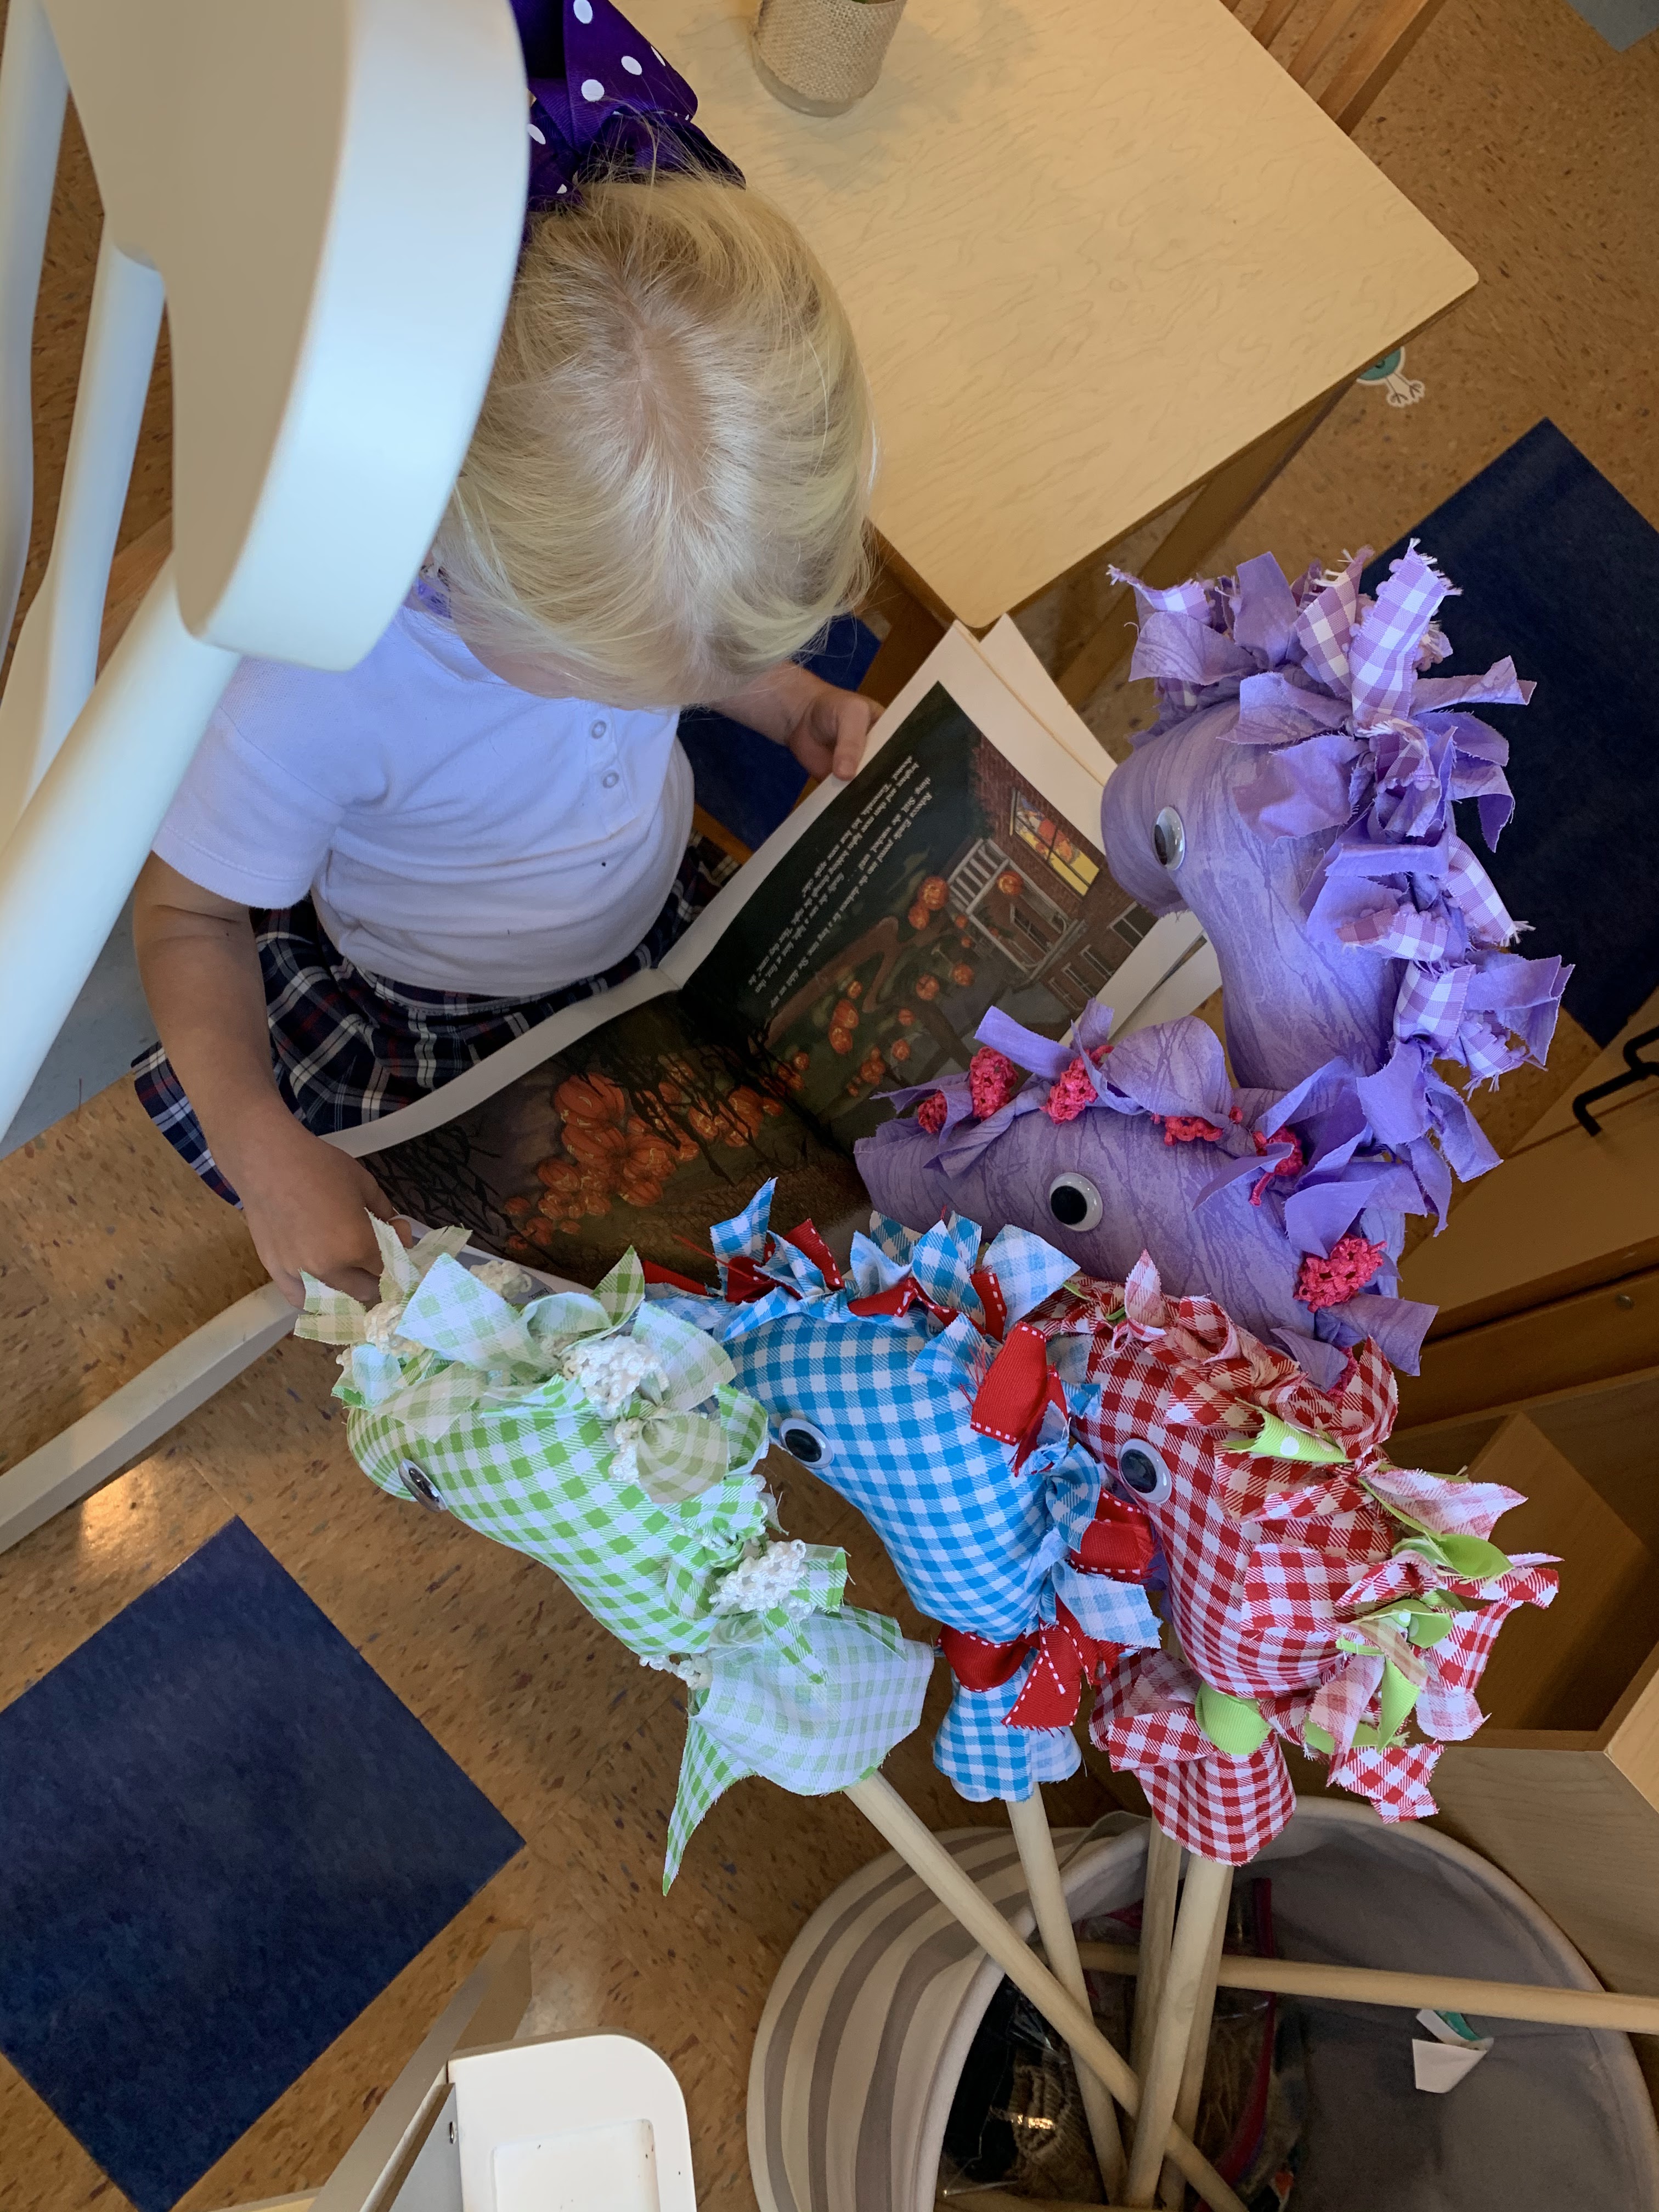
I still sometimes get messages that say years later and their little horse still lives in their room or next to their bed... sooo sweet.

SO easy to make, and I hope this inspires you to be able to do it too if you ever needed/wanted! I'm sure Jane will be getting one in just a few years hahaha
Hope this helps and please send pictures if you ever make one!!! I know that you can tweak it to be what you need, but always feel free to ask questions if you have them about these specific ones. And there you have... Homemade Hobby Horses... Soo simple and fun!!!
Thanks for following along, and I'll plan on seeing you back here tomorrow!!!
Thanks for following along, and I'll plan on seeing you back here tomorrow!!!
❤️Tab
No comments:
Post a Comment
I love hearing from you!! Thanks for following along in this little journey of ours!